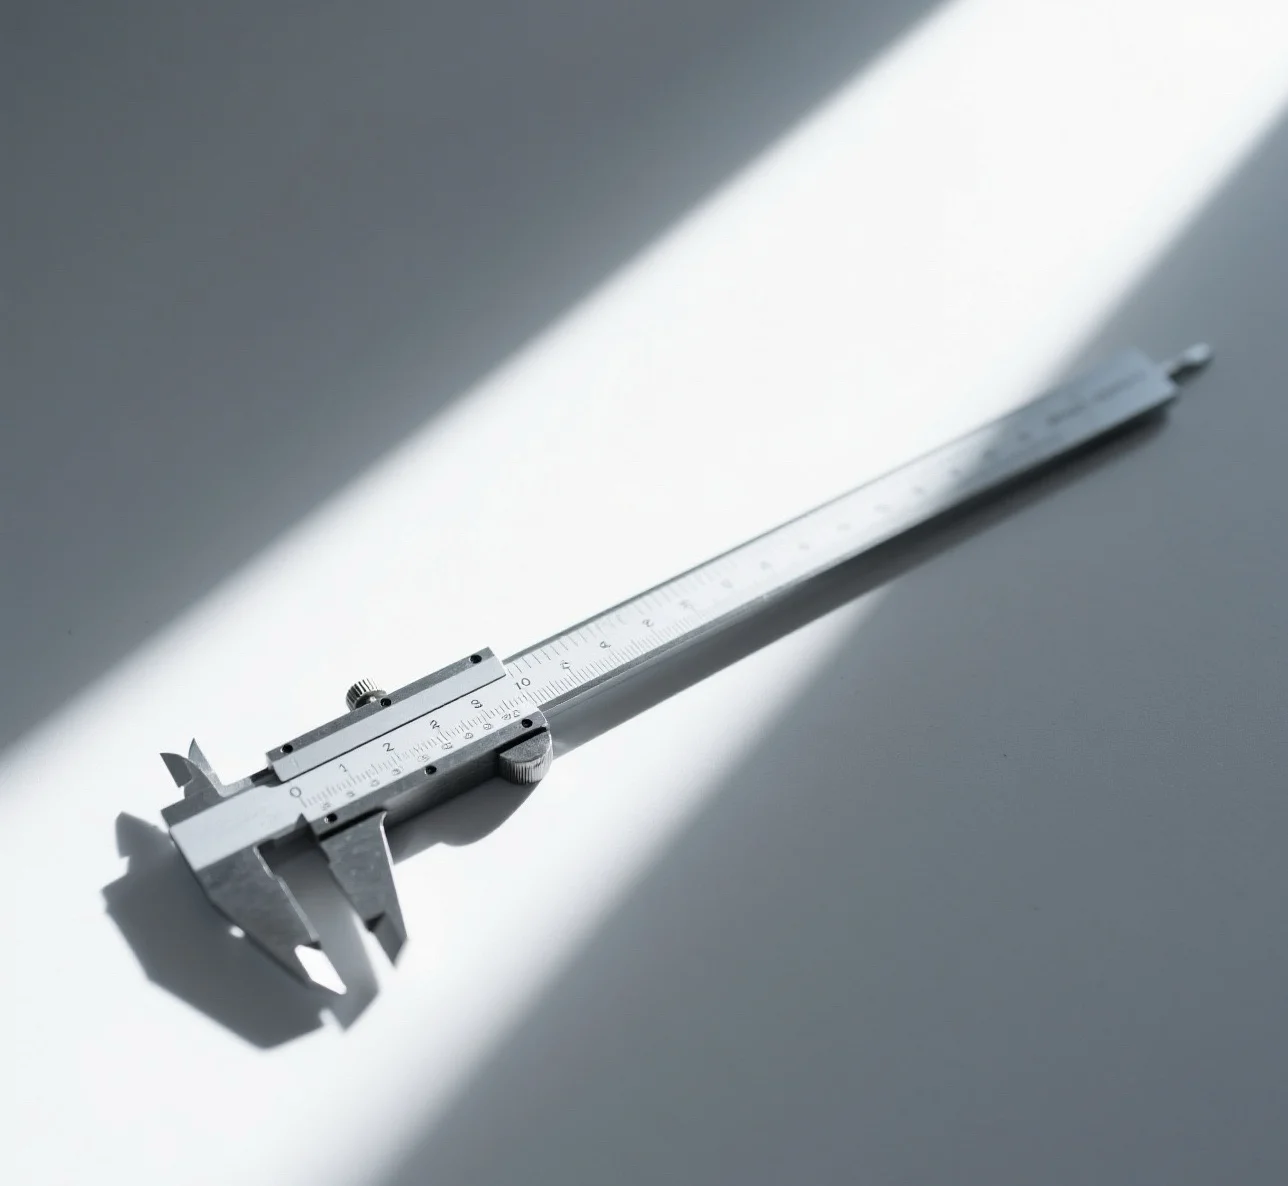
Precision measurement is essential in modern manufacturing, engineering, and quality control. For professionals who require high accuracy, standard calipers sometimes fall short, particularly when dealing with small dimensions or extremely precise parts. This is where calipers with tables come into play. By integrating a precision table or rack with the caliper, these tools magnify, subdivide, and indicate measurements more effectively, minimizing reading errors and delivering intuitive results.

In this guide, we explore how to use calipers with tables, from basic principles to advanced techniques, highlighting their applications in electronics, engineering, and precision component manufacturing.
Understanding Calipers with Tables
A caliper with a table is an advanced measurement device that combines the traditional caliper with a precision rack or pitch scale. The key innovation is that the pitch of the rack and pinion is used as a known length, while the indicator magnifies the measurement, subdivides it, and displays the value clearly.
Advantages over Standard Vernier Calipers
Reduced Reading Error
Traditional vernier calipers require careful visual alignment, which can introduce errors, especially when measuring very small parts.
With a table-integrated caliper, the magnification and indicator system reduce human reading error significantly.
High Accuracy for Small Components
Ideal for measuring tiny dimensions, such as electronic components, micro-machined parts, or precision instruments.
Intuitive Display
The measurement is displayed clearly on a table or scale, making readings more straightforward and less dependent on interpretation.
Consistency Across Measurements
Repeated measurements show less variation, which is crucial for quality control and compliance with manufacturing tolerances.
Basic Tips for Beginners
For users new to calipers with tables, starting with basic practices ensures accuracy and longevity of the tool:
Clean the Device and Workpiece
Remove dust, grease, or debris from both the caliper and the item being measured. Even minor particles can distort readings.
Set the Indicator to Zero
Ensure the caliper indicator is zeroed before taking measurements. This guarantees that the reading starts from a correct reference.
Use a Stable Surface
Place the workpiece on a flat, stable surface. Some tables include integrated jigs to hold parts in place for consistent measurement.
Apply Consistent Pressure
Avoid over-tightening the caliper jaws, as excessive force can deform soft materials and give inaccurate readings.
Understand the Scale
Learn how the rack and indicator system subdivides the pitch. Correct interpretation ensures accurate measurement, especially for small increments.
Intermediate Techniques for Accurate Measurement
Once the basics are mastered, intermediate users can adopt techniques to improve precision:
Multiple-Point Measurement
For cylindrical or irregular shapes, measure at several points and calculate an average to account for variation.
Calibrate Regularly
Periodic calibration using gauge blocks or reference standards maintains accuracy over time.
Use the Magnification Effect
Take advantage of the indicator’s magnification to identify minute differences in dimensions that would be difficult to read with standard calipers.
Combine with Depth and Step Measurements
Some calipers with tables include depth indicators, enabling measurement of recesses or stepped components with high accuracy.
Advanced Applications
Advanced users benefit from calipers with tables in high-precision industrial environments:
Electronic Component Manufacturing
Measuring small, delicate parts like ICs, connectors, or micro-machined elements requires both accuracy and consistency.
The table-integrated caliper ensures error-free readings critical for assembly and quality inspection.
Precision Engineering
Use in aerospace, automotive, and mechanical engineering for parts that require tight tolerances.
Data Integration
Many modern calipers with tables offer digital output for data logging, reducing manual transcription errors and supporting traceable quality control.
Research and Development
In labs or prototype workshops, measuring extremely small or delicate components demands the intuitive and accurate reading capability provided by calipers with tables.
Quality Assurance in Mass Production
Ensures repeatable, fast, and reliable measurements across large batches, improving process efficiency and reducing defective parts.
Common Mistakes to Avoid
Even experienced users can make errors when using calipers with tables. Key pitfalls include:
Measuring on uneven or unclean surfaces.
Failing to zero the indicator before use.
Applying inconsistent pressure on the jaws.
Ignoring calibration schedules.
Misinterpreting the rack and indicator scale.
Avoiding these mistakes ensures the device delivers its full potential for high-precision measurement.
Conclusion
Calipers with tables provide a significant advantage over standard calipers, particularly in scenarios that demand high reading accuracy. By integrating the rack-and-indicator system, these calipers reduce human error, improve consistency, and deliver intuitive readings, making them indispensable in electronics manufacturing, precision engineering, and high-accuracy labs.
From beginners learning to zero and align the tool, to professionals leveraging magnification for ultra-precise measurements, mastering calipers with tables enhances both accuracy and workflow efficiency. Investing in proper calibration, surface preparation, and measurement techniques ensures long-term reliability and consistent results.
For industries and laboratories requiring high precision, intuitive readings, and consistent measurements, calipers with tables represent a practical and efficient solution.
https://www.precisioncaliper.com/from-basic-to-advanced-tips-on-using-calipers-with-tables.html
